Drawing something cute can instantly brighten your day, and learning How to Draw a Kawaii Cupcake is the perfect place to start. Kawaii drawings are simple, expressive, and incredibly fun to create—even if you’re a total beginner. In this guide, you’ll learn how to draw a cute cupcake using step-by-step instructions, helpful tips, and easy techniques. Whether you’re practicing for fun, upgrading your art skills, or teaching kids, this tutorial will help you make an adorable cupcake character that looks sweet enough to eat!
Why Kawaii Cupcake Drawing Is Perfect for Beginners
Kawaii drawings have become a favorite for artists of all ages because they’re colorful, happy, and surprisingly easy to make. If you’ve ever wondered how artists bring those tiny sparkly eyes and cute rounded faces to life, you’re in the right place. In this beginner-friendly guide, we’ll walk through How to Draw a Kawaii Cupcake from start to finish. You’ll learn how to sketch the base, add personality, and choose the right colors to make your cupcake stand out. Whether you’re sketching in a notebook or using digital tools, this tutorial will help you create a charming cupcake that captures the true sweetness of kawaii style.
Why Kawaii Art Is So Popular
Before we start drawing, let’s explore why kawaii art is such a hit worldwide—especially for new artists.
Kawaii style originated in Japan and is deeply connected to cuteness, friendliness, and happiness. Characters are often simplified with rounded shapes, thick outlines, and expressive faces. This makes kawaii drawings accessible, forgiving, and extremely fun to personalize.
Additionally, kawaii art is perfect for beginners because:
- The shapes are simple and soft
- Mistakes can easily be turned into creative details
- Colors are bright and easy to mix
- Characters allow a lot of freedom and imagination
- You don’t need expensive tools
This is why so many artists search for kawaii art for beginners—it’s a wonderful starting point, and this cupcake tutorial is the perfect example.
Materials You Need for Your Kawaii Cupcake Drawing
Although kawaii drawings are simple, the right tools make the process smoother and more enjoyable. You don’t need fancy supplies. Just a few basics will do.
- Drawing Paper or Sketchbook: A plain sheet of white paper works fine, but a sketchbook helps keep your drawings organized.
- Pencil: A regular HB pencil is perfect for sketching basic shapes.
- Eraser: You’ll use this to clean up your sketch before outlining.
- Black Pen or Marker: Kawaii drawings typically use bold outlines to make them stand out.
- Color Markers or Color Pencils: Choose soft pastel colors or bold markers—either works.
Optional:
- Gel pens for highlights
- Brush pens for smooth outlines
Once you have your tools ready, let’s move to the fun part—the actual drawing!
How to Draw a Kawaii Cupcake
In this section, we will break down how to draw a cute cupcake using very simple shapes. Even if you struggle with drawing, you’ll find this method easy and enjoyable. This is truly a cute cupcake step by step guide designed for beginners and kids.
Step 1: Start With the Cupcake Top (The Fluffy Frosting)
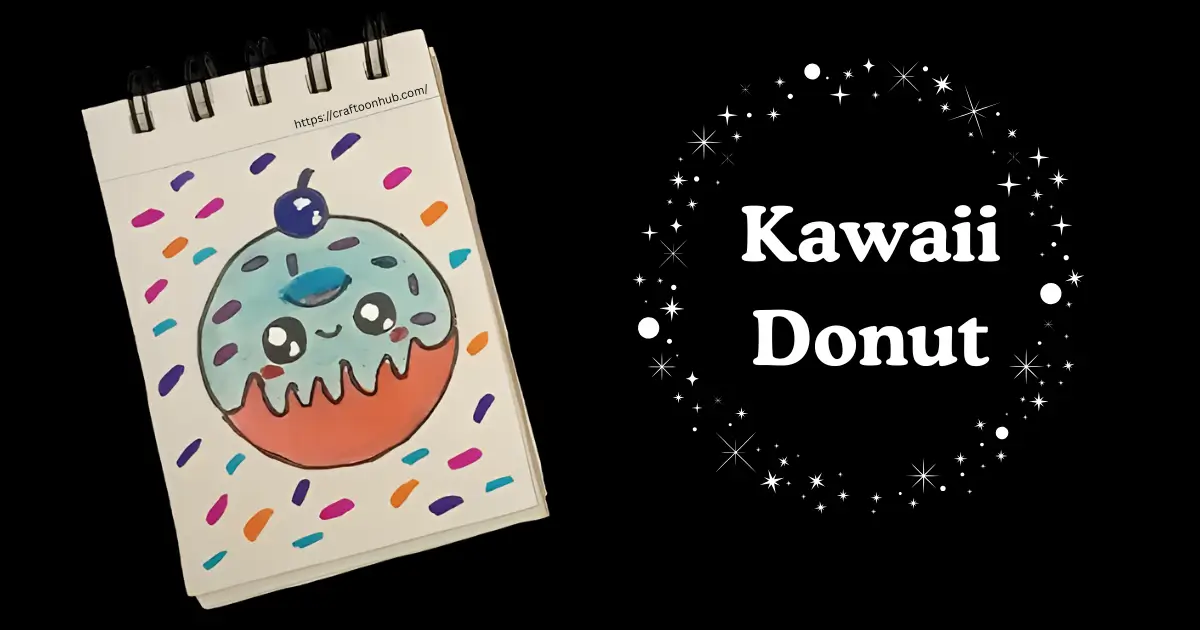
The first thing we need is the cupcake frosting. To make it kawaii, you want soft, cloud-like curves. Start by drawing a wavy, rounded shape—almost like a fluffy cloud.
Tips:
- Avoid sharp lines; keep curves smooth
- Make the shape big enough so the face fits inside
- Add extra “bumpy” curves to give it that cute puffy look
This frosting outline sets the tone for your entire kawaii cupcake drawing, so take your time and enjoy the process.
Step 2: Draw the Cupcake Base (The Wrapper)
Below the frosting, draw a simple trapezoid. The top line should be slightly wider, while the bottom line becomes narrower. This creates the look of a cupcake wrapper.
You can make the edges curved or straight depending on your style preference.
To make it cuter:
- Slightly angle the sides inward
- Add soft curves instead of sharp corners
- Keep it symmetrical but not perfect—imperfection adds charm
This gives your cupcake structure and makes it look ready to stand on its own.
Step 3: Add Facial Guidelines (Where the Cute Face Will Go)
Every kawaii drawing needs a cute face, and placement matters. Lightly draw two small circles or ovals where the eyes will go. Make sure they’re balanced and slightly below the frosting’s center.
Then, add a tiny curved line for the mouth. You can also draw a small tongue or blush marks if you want extra cuteness.
These light sketches will help when you add details later.
Step 4: Add the Eyes (The Most Important Part!)
Kawaii eyes are the heart of your drawing. You can choose simple dots, oval eyes, or detailed sparkly eyes. Here’s how to draw classic kawaii eyes:
- Draw two oval shapes
- Add two white circular highlights inside each oval
- Fill the rest with black
- Add little curved eyelashes if you want a cute feminine look
This instantly brings your cupcake to life. Many artists also include a small curved line above each eye to represent eyebrows.
Step 5: Draw the Mouth and Extra Facial Details
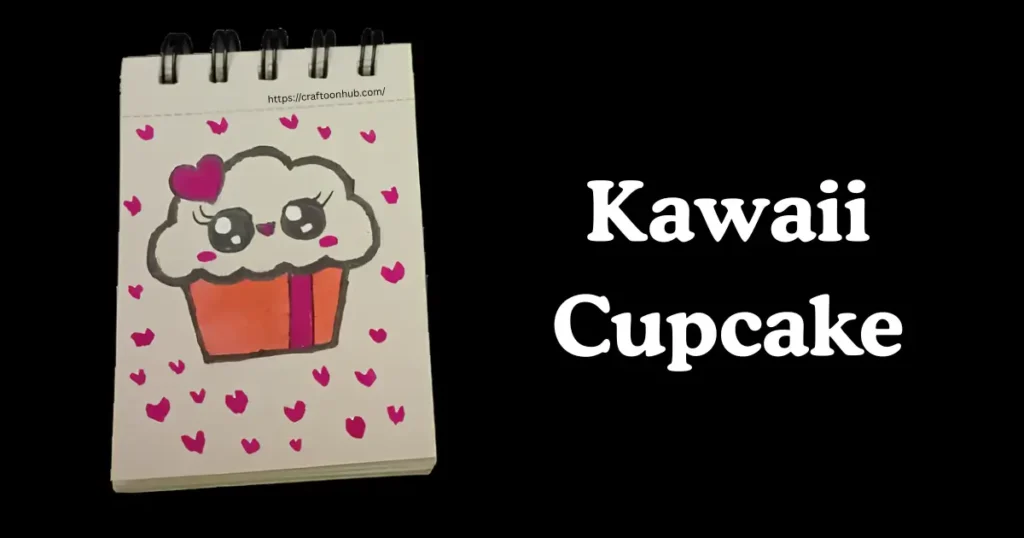
You can keep the mouth as a simple “U” shape, or make it playful by adding a little tongue sticking out—just like in your drawing!
To make it expressive:
- Add tiny blush circles under the eyes
- Draw a tiny, sweet smile
- Make the mouth slightly bigger for extra personality
These features help your cupcake look cheerful and adorable.
Step 6: Add Decorations to the Frosting
Now it’s time to get creative. Decorations make your kawaii cupcake unique.
You can add:
- A heart (like the drawing you provided)
- Sprinkles
- A cherry
- A tiny bow
- Star-shaped accents
To keep it kawaii, use small, rounded shapes and simple details. Decorations help your drawing tell a story.
Step 7: Add Wrapper Details (Stripes, Dots, Hearts)
Cupcake wrappers are fun to decorate. Try adding vertical stripes, horizontal bands, zigzags, or even cute little hearts.
If you’re following a kawaii art for beginners approach, keep the wrapper patterns simple, like:
- Two horizontal bands
- A single stripe
- Soft pastel color blocks
These patterns help separate the frosting from the wrapper visually.
Step 8: Outline the Drawing With a Marker
Once you’re satisfied with your sketch, trace over it using a black pen or marker. Use slow, steady strokes for smooth outlines.
Outlining tips:
- Make the outer lines slightly thicker
- Keep inner details thinner
- Avoid smudging by letting ink dry before erasing pencil marks
This makes your cupcake look bold and professional.
Step 9: Start Coloring the Frosting
Frosting is where the magic happens. Pick a color that expresses your cupcake’s personality.
Popular choices include:
- Pink
- Blue
- Lavender
- Pastel yellow
- Mint green
Use one main color and add variations to create dimension. Try shading the edges slightly darker for a soft 3D effect.
Step 10: Color the Wrapper
Choose a color that complements your frosting. You can use:
- Bright warm colors like orange or red
- Cool tones like teal or purple
- A mix of pastel shades
Add shading by applying more color on the sides and keeping the middle area lighter.
This keeps your kawaii cupcake drawing visually balanced.
Step 11: Add Highlights and Finishing Touches
Highlights make your drawing pop. Use a white gel pen or leave small areas uncolored.
Place highlights on:
- The frosting
- The eyes
- The wrapper
- The decorations (like the heart or cherry)
Finally, add small sparkles or doodles around the cupcake for that extra kawaii effect.
Extra Tips for Kawaii Art for Beginners
If you want to improve your kawaii drawings even faster, keep these simple tips in mind:
- Use Round, Soft Shapes: Kawaii style avoids sharp angles and straight rigid lines.
- Keep Features Simple: Eyes, mouth, and expressions should be cute and easy.
- Play With Proportions: Big eyes + small mouth = instant cuteness.
- Use Pastel Colors: These create a soft, sweet look.
- Add Personality: A tiny smile, blush, tongue, or heart decoration makes your character unique.
- Keep Practicing: The more you draw, the better your style becomes.
Fun Variations You Can Try
Once you’re comfortable with the basic design, try experimenting with these variations:
1. Animal-Themed Cupcakes
- Cat cupcake
- Panda cupcake
- Bunny cupcake
2. Seasonal Cupcakes
- Halloween spooky cupcake
- Christmas Santa cupcake
- Valentine heart cupcake
3. Food-Themed Cupcakes
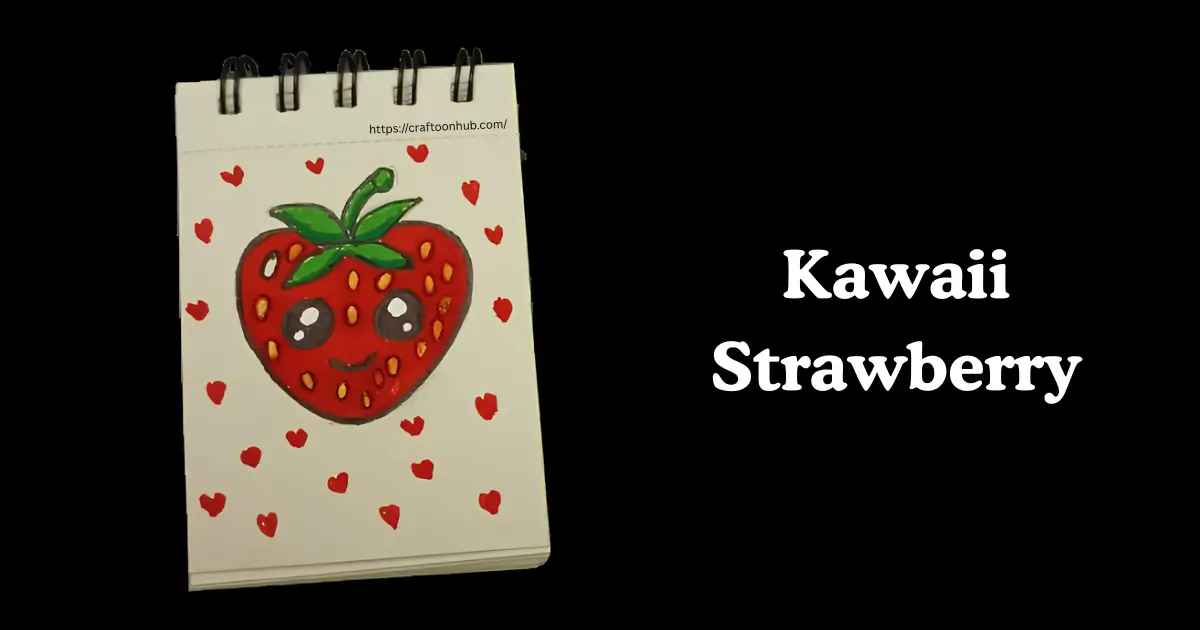
- Strawberry cupcake
- Chocolate cupcake
- Rainbow cupcake
These fun twists keep your creativity flowing.
Conclusion
Creating a kawaii cupcake is a joyful experience, especially when you follow a simple and clear method. You now know exactly how to draw a cute cupcake using easy shapes, expressive features, and adorable decorations. With every drawing, your confidence will grow, and your style will naturally become cuter and more polished. Remember, the key to kawaii art is simplicity, rounded shapes, and a playful spirit.
If you enjoyed this kawaii cupcake drawing tutorial, keep exploring more kawaii characters and practice different styles. And don’t forget—share your adorable cupcake drawing with friends, family, or on social media to inspire others! Want more kawaii art for beginners or step-by-step guides? Just let me know, and I’ll create your next tutorial!
FAQ Related to:
How do I draw a kawaii cupcake step by step for beginners?
To draw a kawaii cupcake, start by sketching a fluffy cloud shape for the frosting. Then add a simple trapezoid for the cupcake wrapper. Draw two big round eyes, a tiny mouth, and optional decorations like hearts or sprinkles. Once the sketch looks right, outline it with a black pen and add soft colors. Keeping the shapes round and simple helps beginners achieve that cute look easily.
What are the easiest techniques for a cute kawaii cupcake drawing?
The easiest techniques include using smooth curved lines, drawing oversized eyes, and adding small expressive details like blush or sparkles. Keep the shapes soft and avoid sharp angles. A simple rule is: big eyes, small mouth, pastel colors. These basic techniques instantly make your cupcake look adorable without needing advanced drawing skills.
Which tools do I need for an easy kawaii drawing tutorial?
You only need a pencil, an eraser, a black fineliner or marker, and coloring tools like markers or colored pencils. If you prefer digital art, any drawing app with a brush, pen, and color tool will work. Kawaii art doesn’t require expensive supplies—simple tools can still create a professional and cute final result.
How can I make my kawaii cupcake look cuter and more expressive?
Adding personality is the key. Try drawing eyes with highlights, adding small blush circles, or making the mouth slightly open or playful. Decorative elements like a heart, cherry, bow, or sprinkles also boost cuteness. You can even tilt the cupcake slightly or give it a fun expression to make it feel more alive and charming.
What are the best colors to use for drawing a kawaii-style cupcake?
Pastel colors work best for kawaii themes—think pinks, blues, yellows, and mint greens. You can also mix pastels with bright accent colors to make the drawing stand out. For the wrapper, choose a contrasting shade so it doesn’t blend with the frosting. Soft shading on the edges adds extra depth and sweetness.
How do I draw a cute cupcake with big kawaii eyes?
Start by drawing two large ovals spaced evenly apart. Add one or two white circles inside each oval for eye highlights, then fill the rest with black. Keep the eyes low on the frosting to maintain a cute, childlike appearance. You can add tiny eyelashes or curved eyebrows for extra expression. Pair the eyes with a small smile or tongue to complete the adorable look.